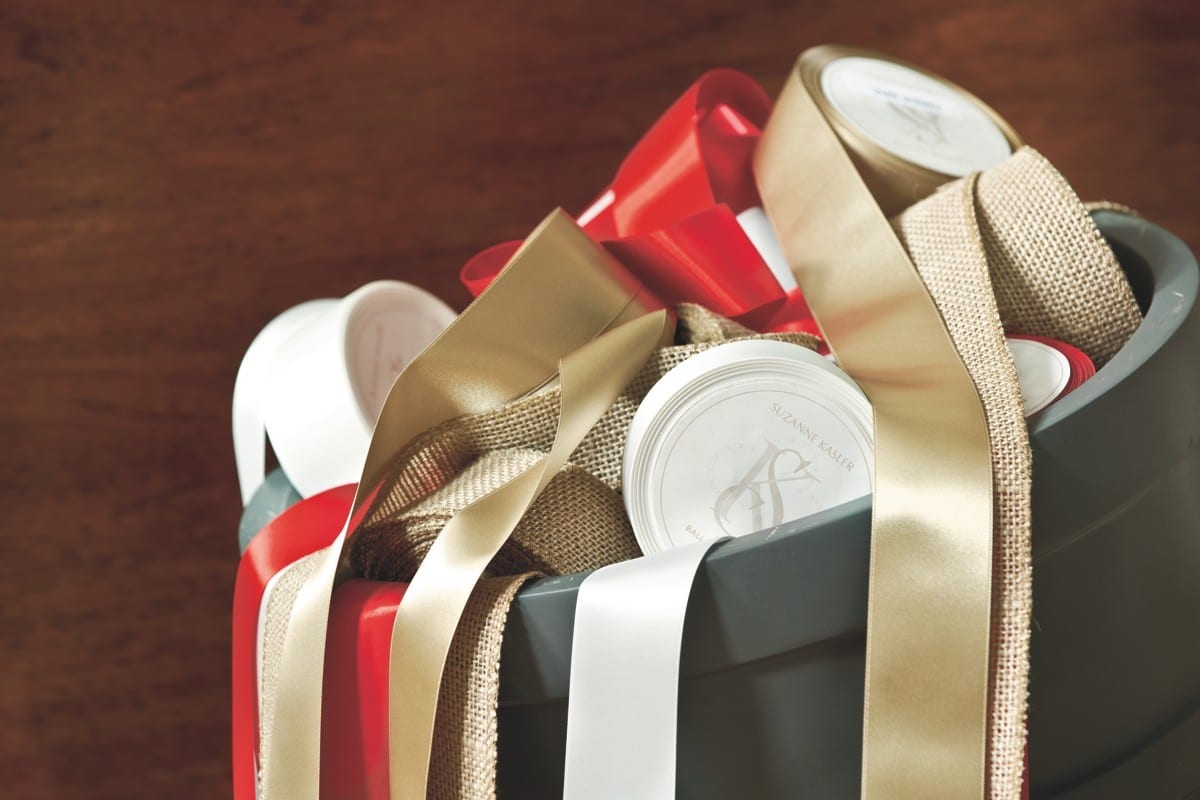
 Embellish your greenery and holiday decor with your favorite ribbon. Follow these 6 easy steps to create a simple bow.
We recommend you use wired ribbon to make shaping and fluffing your bow a breeze.
Hint: The right side of the ribbon should always face towards you as you make the bow.
You’ll need the following materials:
- 3 1/2 yards of ribbon for each bow
- Florist wire
- Wire cutters
- Scissors
- Pliers
You’ll be making bows for every occassion before you know it!
Step 1 – Make the First Tail
Measure the length of ribbon you want for the first tail. Make a full twist of the ribbon so the right side faces you. Hold the ribbon at the twist with one hand.

Step 2 – Make the First Loop
With your other hand, create the first loop of your bow with the next 8 inches of ribbon. End this loop at the twist and make another full twist of the ribbon so the right side faces you. Now you should have a 4 inch loop.

Step 3 – Make the Center Loop
Create the center loop of your bow with the next 4 inches of ribbon. End this loop at the twist and make another full twist of the ribbon.so the right side faces you. Now you should have a 4 inch loop followed by a 2 inch loop.

Step 4 – Make the Third Loop
Create the third loop of your bow with the next 8 inches of ribbon. End this loop at the twist and make another full twist of the ribbon so the right side faces you. Now you should have the basic shape of a bow with 2 large loops, a smaller center loop, and 2 tails.

Step 5 – Secure the Loops
Place a piece of florist wire through the smaller center loop. Use the pliers to twist it tightly at the back of the bow. The wire should be tight enough so you can move and adjust the loops to make a full, fluffy bow.

 Step 6 – Fluff and Trim the Bow
Arrange and fluff the bow loops. Trim the tails by making diagonal cuts across the ribbon ends.
You’re sure to find lots of great uses for your hand-made bows once you get the hang of these 6 simple steps. Try out your own techniques for a unique look – add more loops, vary the loop sizes, or combine ribbon colors and textures. Remember – Practice makes perfect and have fun!
Posted 10/13/09


Phyllis Walsh
Now I’m actually looking forward to wrapping presents! These bows are terrific!