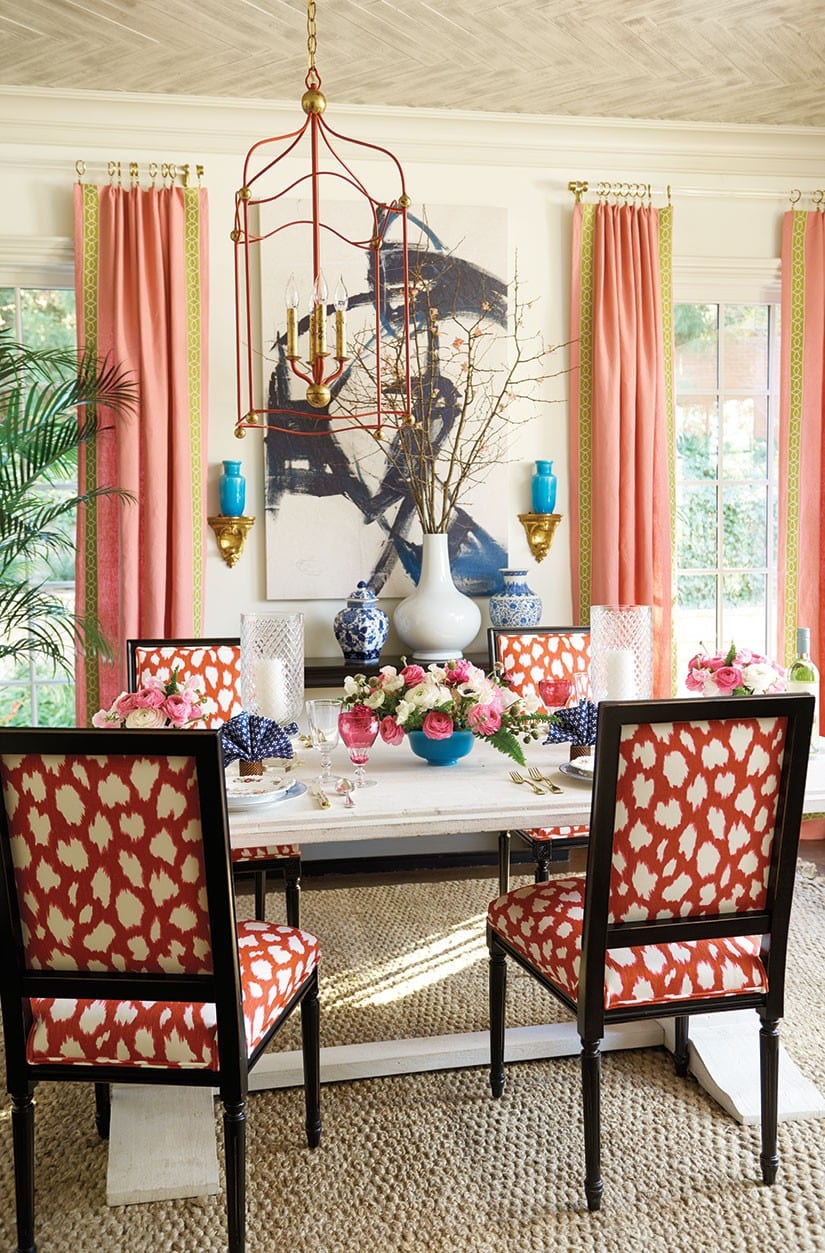
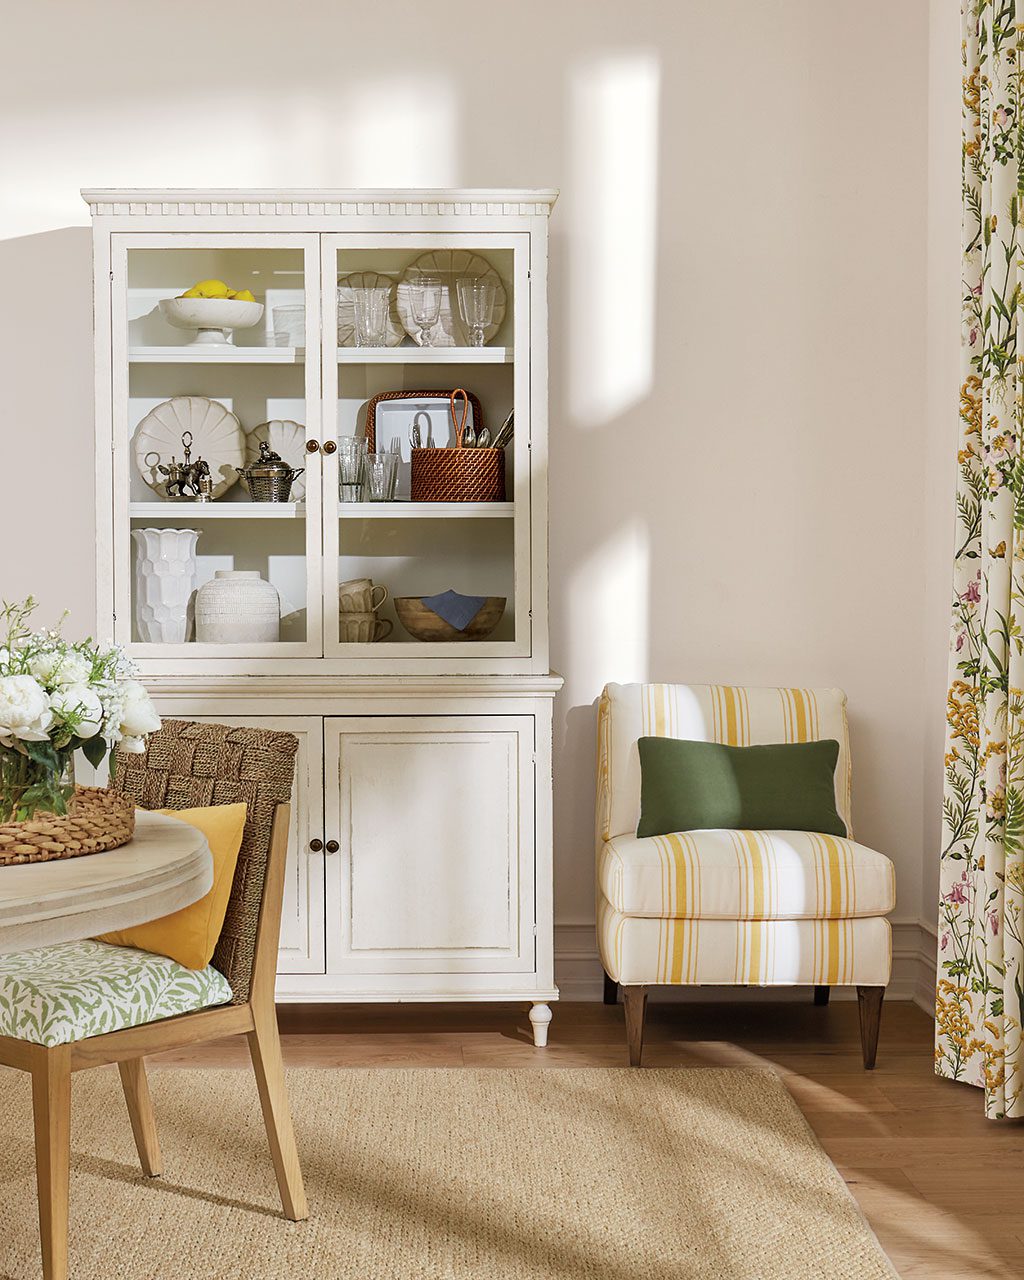
In the dining room Eddie Ross designed for our Summer 2016 catalog, he combined Suzanne Kasler’s peony pink linen drapery panels with lime green tape trim. This designer detail feels custom and elevates the entire room, and it’s such an easy change you can make to your panels. We’re showing you how!
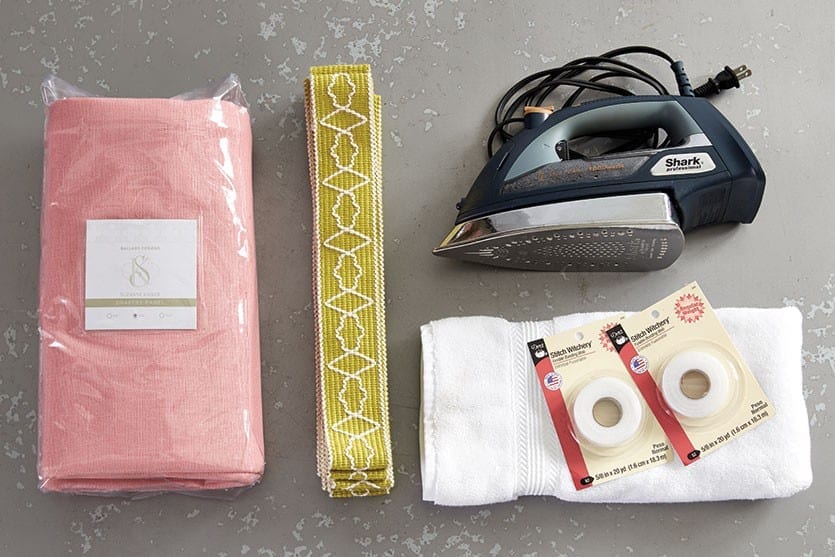
First, you’ll need the following materials:
- Curtain panels in desired style and length (we used Suzanne Kasler’s Peony pink panels)
- Between 6 and 8 yards of trim depending on the length of your panels
- Iron on tape
- Iron
- Towel
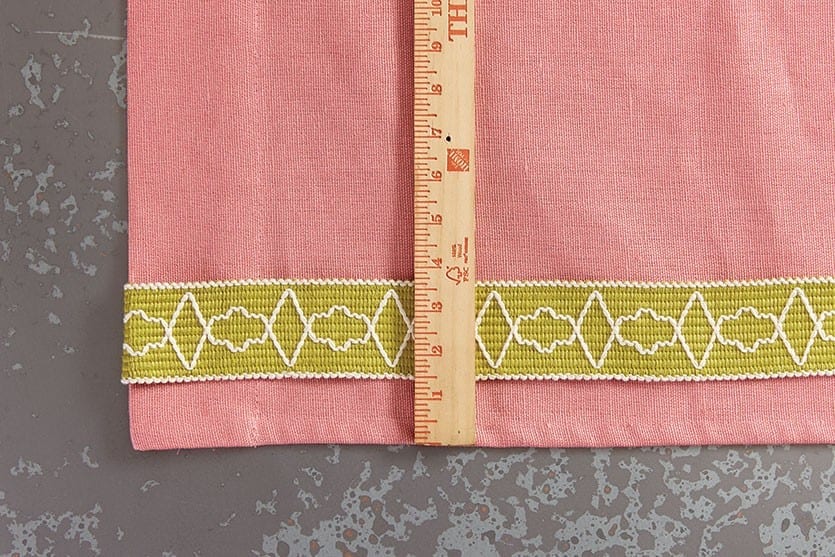
Next, lay out your curtain panel on a large flat surface. Use a ruler to figure out how far into the panel you’d like your trim to be placed. We prefer an inch and a half so there’s a peak of pink on each side of the trim.
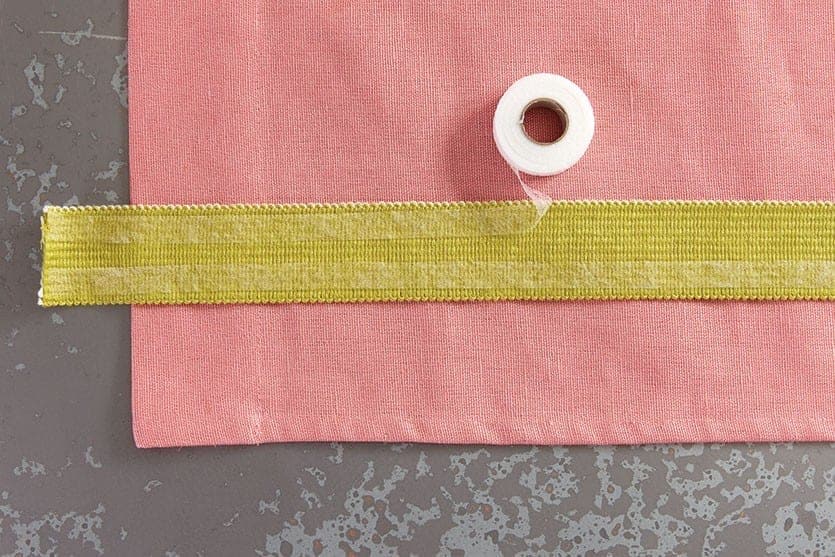
Once you know the amount of space you want to leave between the trim and the edge of the panel, carefully lay iron on tape along the trim. Because this trim is over 2 inches thick, we used the iron on tape at both edges. If your trim is narrower, you may only need one band of tape.
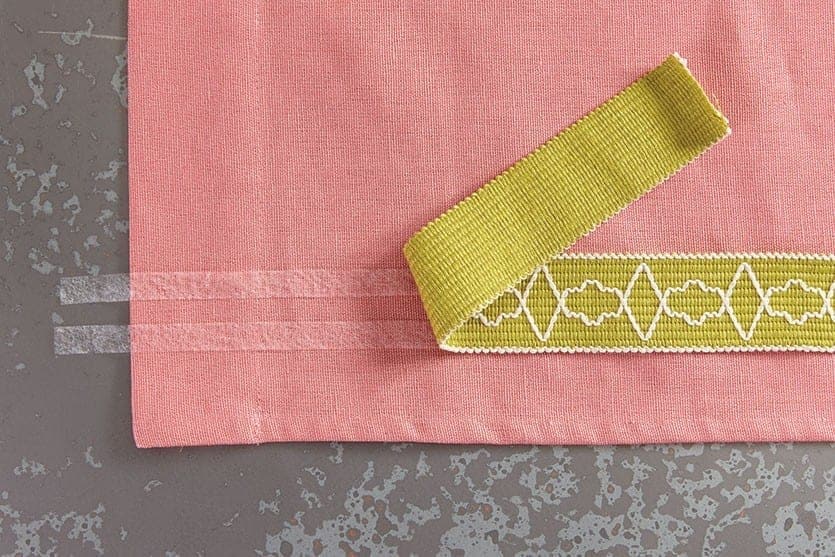
Carefully turn the trim with the tape on the back onto the panel so the tape is facing down. Leave an inch of both tape and trim at the end so you can fold these pieces over the edge of the panel.
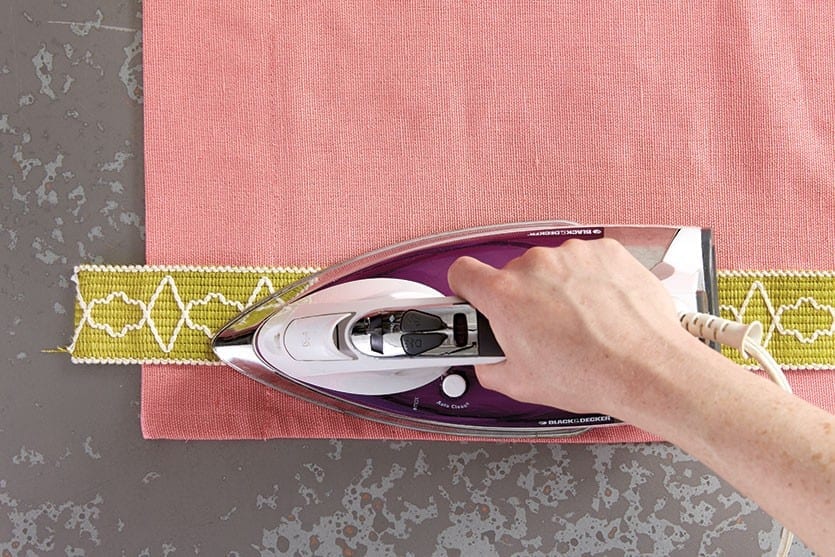
With a very hot iron, carefully place the iron over the tape trim working in sections. Keep the iron stationery. Don’t move it back in forth or you risk moving the trim!
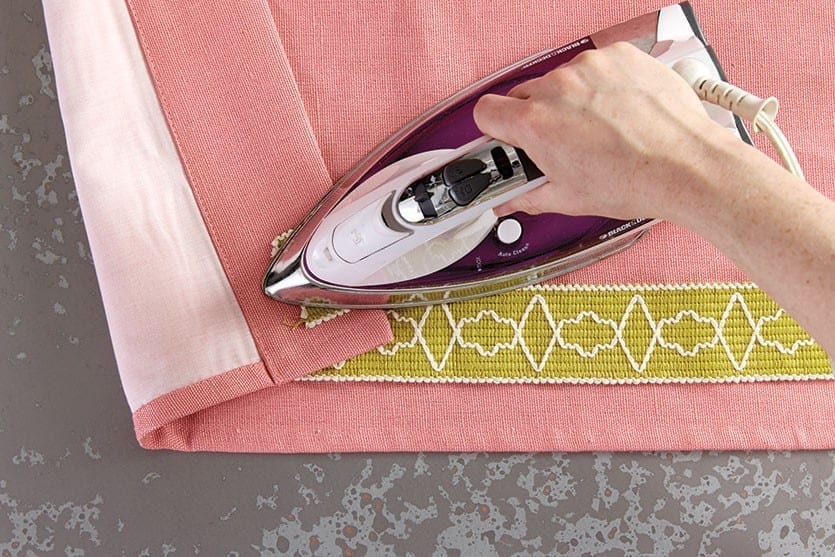
Once the trim is secured in your first section (on the front side of the panel), turn the corner of the panel over to steam the edge. This creates a finished look.
Now, work along your first leading edge one foot at a time going from the top of the panel, down to your first corner.
We added the tape along three edges of the panel (creating a continuous corner), but if you’d like to save on tape or avoid creating a corner, simply fold the trim and tape over the edge and finish your edge. You can then move straight to your other leading edge, avoiding the hem of the panel all together.
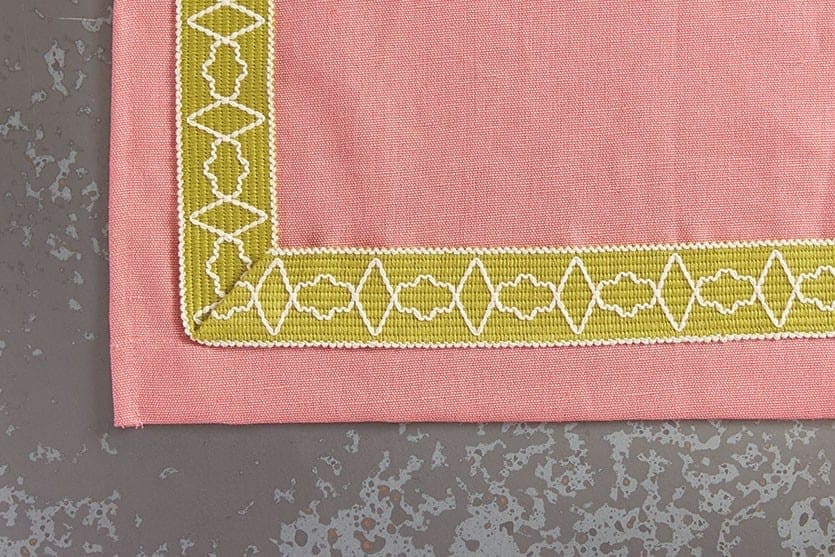
If you’re creating a corner with your trim, fold the trim at a 45 degree angle.
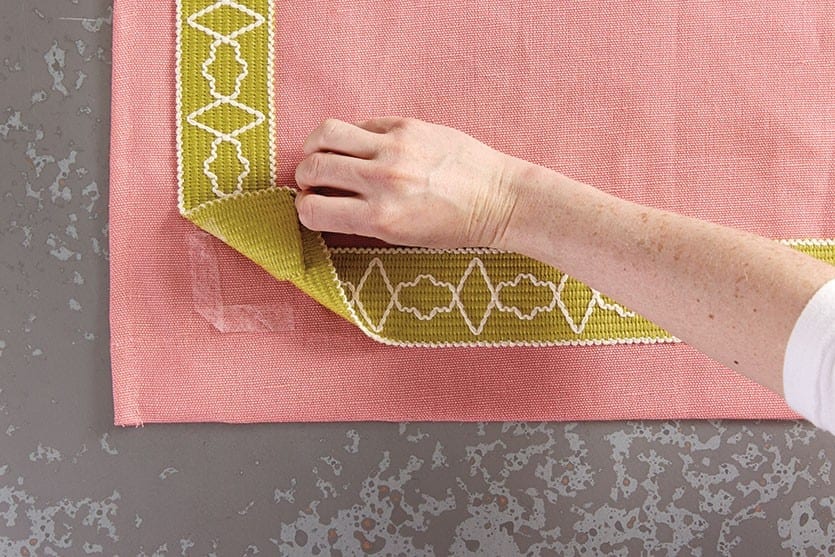
Iron the corner down with tape trim, just as you did along the leading edge of the panel.
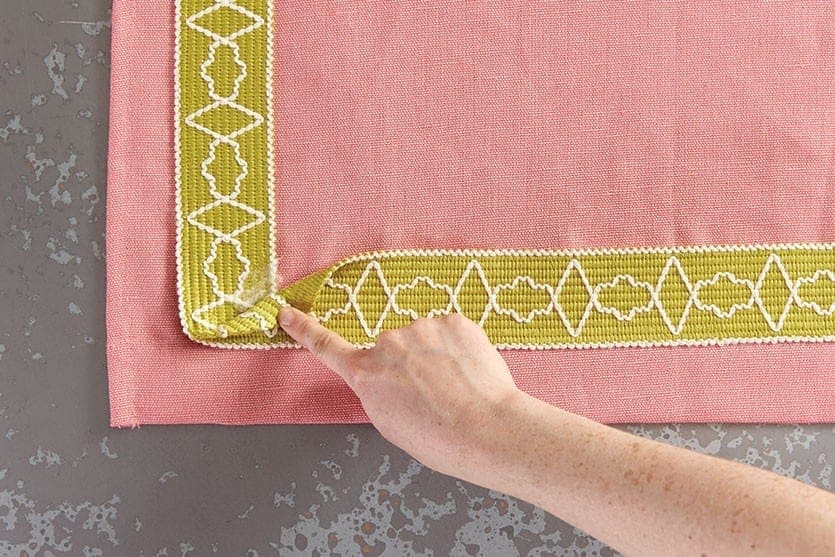
Creating the corner will leave you with a bit of excess trim. Use a small piece of tape to keep the excess fabric pinned down.
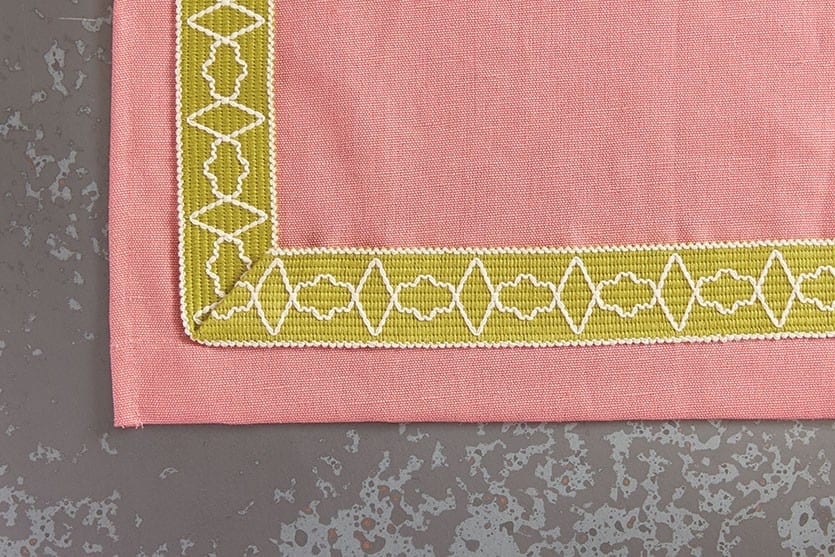
The finished corner should look like this. Work your way down the bottom edge of the panel (the hem) until you get to your second corner and repeat this step.
Now you can work your way back up the edge of panel to the top to complete the trim!
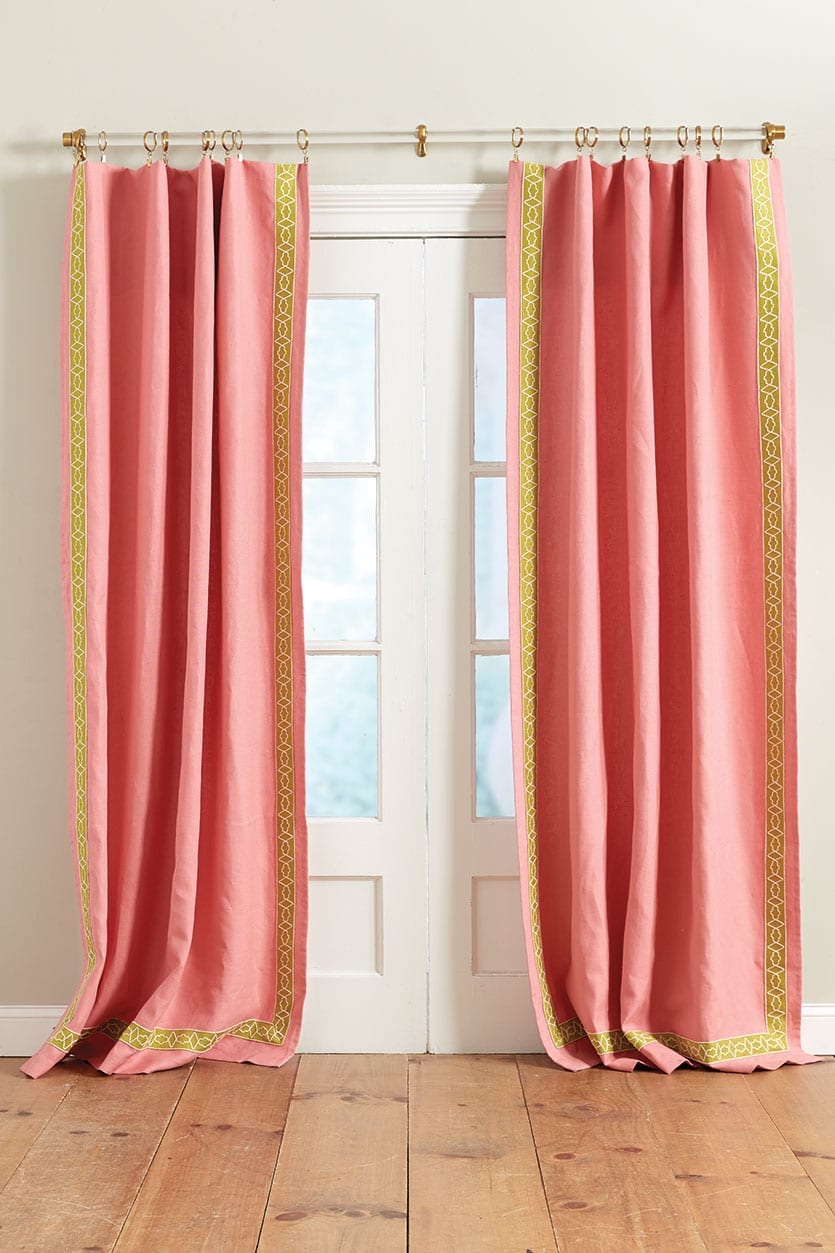
Once your trim is secured, let your panels dry for 24 hours. Then you can hang them up!
See the room where we used these panels, and find more entertaining and design ideas for Eddie Ross.
Did you like this post and find it helpful? Rate it below and share your thoughts in the comments.





Lisa
Can you dry clean curtains after using the tape?
Abbey Nolte
Lisa,
I suggest asking your local dry cleaner about this.
Amanda Barry
I have two 108″ drapes that I would like to add trim to only one side of each drape. How many yards of trim do I need?
Thank you.
Abbey Nolte
Hi Amanda,
You should talk to your seamstress or dry cleaner, but there are 36” in a yard, so at least 3 yards per panel, but I would give yourself and extra yard just in case.
Hope that helps
Abbey
Lynn
What was the towell used for? I don’t see it being used in the description or in any photos, yet it is listed and shown in supplies.
Thank you
Caroline McDonald
Lynn,
We used the towel to apply the iron-on adhesive to the panel. You’re right, we didn’t use it when we did the project, but it’s called for in the adhesive instructions. Depending on the trim, you may not need it!
Caroline
Peggy S Waarnke
Great idea! The only problem I have encountered is the inability to find the tape trim similar to what is shown in the catalogue. Where do you find tape trim? I, too, like the use of iron-on tape instead of sewing.
Caroline @ How to Decorate
Peggy,
You can find that tape trim here. Or on our website at ballarddesigns.com/trim.
Happy Decorating!
Suzette Musetti
Great tip! I love the use of iron-on tape instead of sewing. It makes a nice, clean result. Thanks.
Judy Rucidlo
They look lovely. Love the pink/green combo. Thanks for the tip!